
Introduction
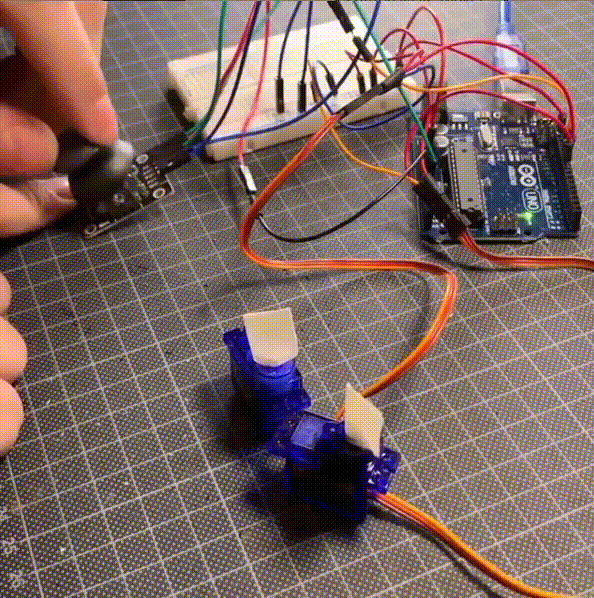
You might have seen one of my Instagram post lately Here but I’ve basically started working on a Remote for a future robot’s. Not sure where this will go but I’m aiming to start a YouTube Series where I build from scratch a robot, inspired by James Bruton and his opendog series ( Im not by all means at this level don’t get too excited ! 🤩 )
Where am at ?
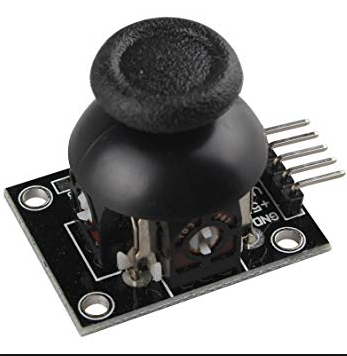
By no means I can ( yet ) write a piece of Arduino code by myself, however if the base code is there, I can tweak most of the code for my need, and so far that feel good. I never used the servo library before, however I’ve manage to setup a reset function using the switch on the joystick, without reading any information online, and manage to print the servo PWM on the serial. Doesn’t seem a lot to you but that the begining in terms of code, I’d like in future to be able to write code myself and feel comfortable showing/explaining that on my YouTbe Channel
Code
Below is the code I’m currently at, the speed for the X servo need a bit of tweaking we can feel that the incremential is not smooth enough but that was just a test for the reset function - the code is not the clearest but again this is a start of the learning
1
2
3
4
5
6
7
8
9
10
11
12
13
14
15
16
17
18
19
20
21
22
23
24
25
26
27
28
29
30
31
32
33
34
35
36
37
38
39
40
41
42
43
44
45
46
47
48
49
50
51
52
53
54
55
56
57
58
59
60
61
62
#include <Servo.h>
Servo servo1;
Servo servo2;
int x_key = A1;
int y_key = A0;
int reset_pin = 10;
int x_pos;
int y_pos;
int reset_pos;
int servo1_pin = 8;
int servo2_pin = 9;
int initial_position = 90;
int initial_position1 = 90;

void setup ( ) {
Serial.begin (9600) ;
servo1.attach (servo1_pin ) ;
servo2.attach (servo2_pin ) ;
servo1.write (initial_position);
servo2.write (initial_position1);
pinMode (x_key, INPUT) ;
pinMode (y_key, INPUT) ;
pinMode (reset_pin, INPUT);
digitalWrite(reset_pin, HIGH);

}

void loop ( ) {
x_pos = analogRead (x_key) ;
y_pos = analogRead (y_key) ;
reset_pos = analogRead (reset_pin) ;
Serial.println(digitalRead(reset_pin));
if (x_pos < 300){
if (initial_position < 10) { } else{ initial_position = initial_position - 50; servo1.write ( initial_position ) ; delay (50) ; } } if (x_pos > 700){
if (initial_position > 180)
{
}
else{
initial_position = initial_position + 20;
servo1.write ( initial_position ) ;
delay (50) ;
}
}

if (y_pos < 300){
if (initial_position1 < 10) { } else{ initial_position1 = initial_position1 - 50; servo2.write ( initial_position1 ) ; delay (50) ; } } if (y_pos > 700){
if (initial_position1 > 180)
{
}
else{
initial_position1 = initial_position1 + 50;
servo2.write ( initial_position1 ) ;
delay (50) ;
}
}
if (digitalRead (reset_pin) == 0){
  servo1.write ( initial_position1);
  servo2.write ( initial_position);
  delay (50) ;
}
}
I had to add a reset position variable in order to call the function as well, this look easy enough but for a Arduino rookie like me it feel good to have it nailed down to do what it suppose to do, meaning reseting the servo position to neutral/center
What next?
The next step would be to work on some Bluetooth communication and add a screen with menu option - this is just a start, I haven’t decide on which platform to go for the robot nor the functionality but will see how that goes I believe, hit me up with some suggestion if you have any on the platform or functionality