Intro
I’ve started some home automation recently, and I’ve also been testing octoprint ( I have it installed back in the day but was not super happy with the performance ( disconnection / lag ) - I decided to swap my SD card and use a proper 3A USB power plug and since then I’m please with my Octoprint setup), As I said on top - I’ve started to get some home automation done in the appartment using Alexa and some smart plug. In this How to, I’ll be explaining how to integrate a smart plug from TPlink (not super expensive) in order to have your printer to shutdown once finish, you’ll see that super easy.
Step 1
Get the Smart Plug from TPLink, it’s would be possible to have it done like DIY but for 35euros, we will save time, have a more reliable setting and the hassle of the setup. On top of that you can always shutdown the printer even if you’re not at home from the TP Link application.
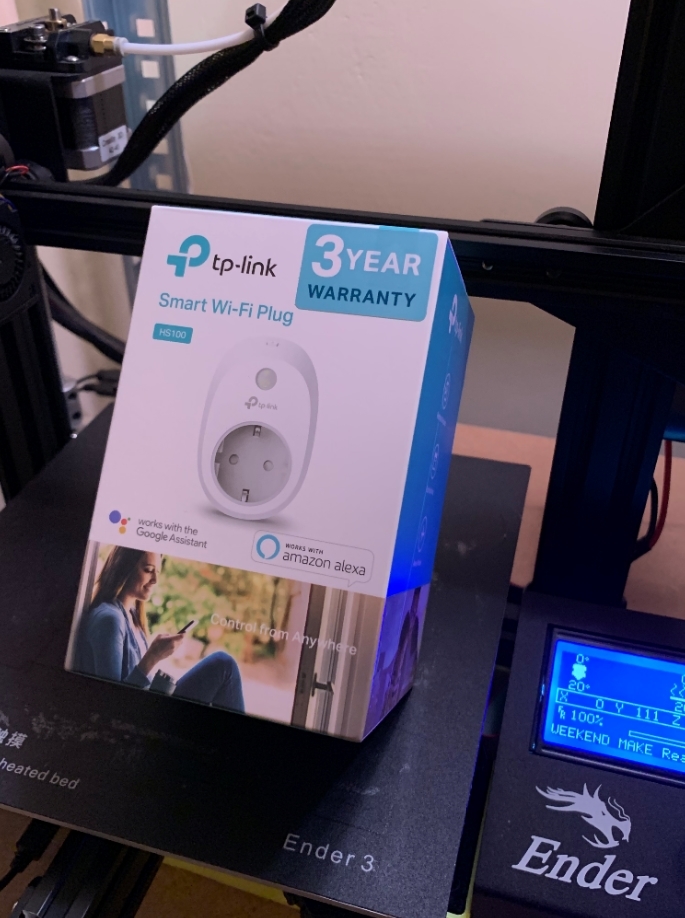
To setup the plug that super easy, you’ll have to download the TP Link application iOS link/Android link - Once installed on your phone, plug your Smart Plug into the power socket, launch the APP and follow the instruction to connect the Plug to your home network, it won’t take long.
Once done we will have to find the IP details of your plug, you can do that by going under your router page and check for the DHCP IP that was given by your router itself - or you can use an app on your phone called Fing iOS / Fing Android this app will scan your network and discover for you all the devices plugged into your network - the plug will be listed (I still recommand checking the router page as you can validate the IP by checking the mac address details of the plug ( this is a physical address that attributed to the device itself by the manufacturer))
Once this is done you can move to Step2. But before that - you can connect the power cord of your printer in your smartplug and turn the power supply of your printer to ON position.
Step 2
You would need to install Octoprint TP Link plugin, for that head over the wrench on the top right corner

Once there, go to your Plugin Manager
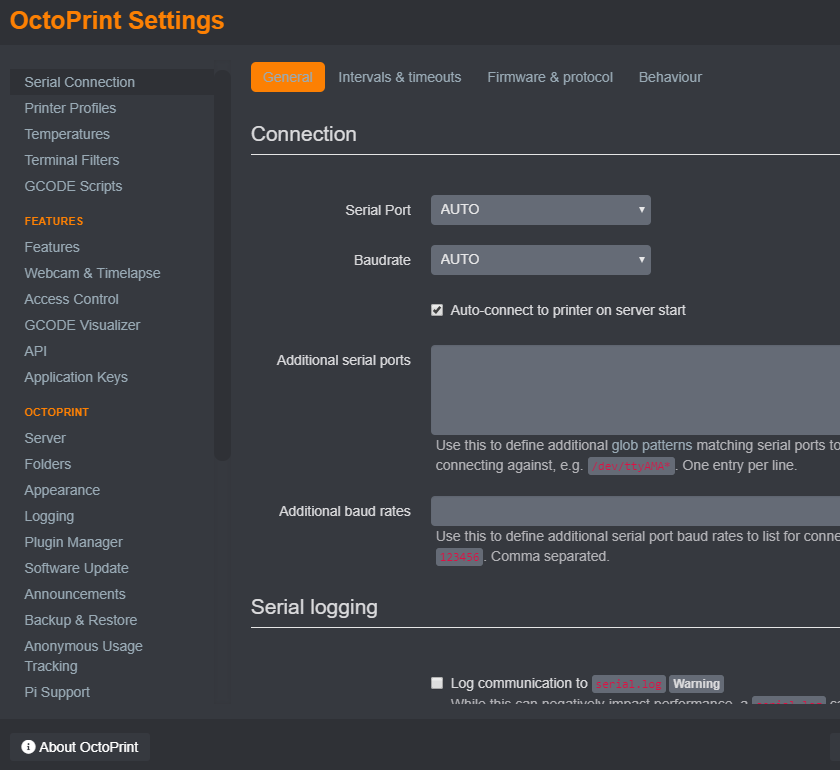
Click on Get More and search for TP Link SmartPlug, you can install it and you will have to reload when prompt by octoprint
Once Octoprint is reloaded, go back to your parameter and under plugins on the left you should see something called TP-Link smartplug
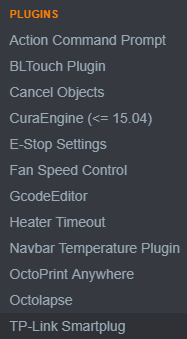
Click on that and click on the little pencil to edit the plug - You will have to enter the IP of your SmartPlug & a Label - you will also have to click on GCODE Trigger as per the screenshot below (please note that your IP should be different then mine)
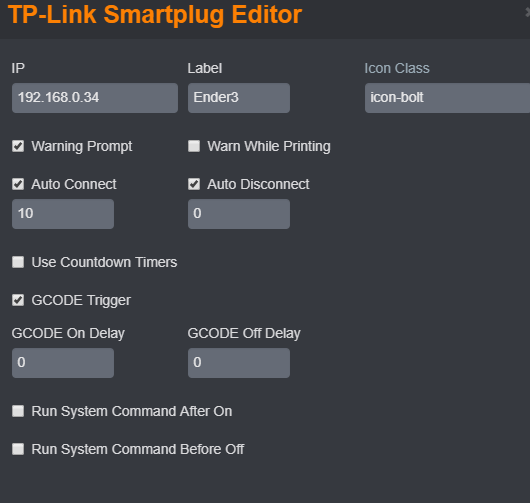
At this stage, your setup is almost finish, you can now try to turn on the printer by pressing the little Bolt on top

It should light Green or Red depending of the state of the printer, you should have the printer turning ON or OFF - you would need to trigger the power button to ON in your printer in order to have it working properly, remember the plug will allow the voltage to flow to the printer moving forward!
FINAL STEP 3!
Step 3 ( Cura )
Remember we had check the GCODE Trigger activate in the Step 2 - This will allow to trigger ON or OFF the printer by having a new ending script GCODE line, M81 follow by the IP of the smartplug will allow you to shutdown the printer once the print is finish
if you’re using Cura, please head under your Printer ending script settings located under: Settings > Printer > Manage Printer > Choose your printer and hit Machine settings
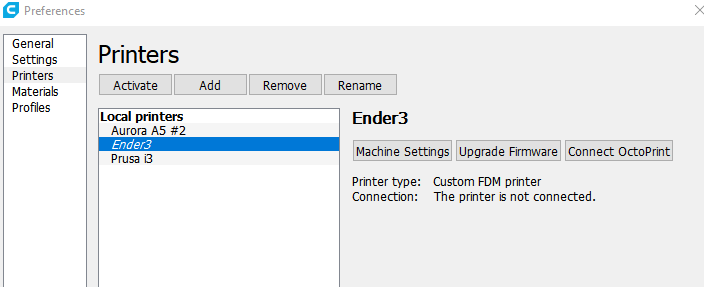
Once you are on your machine settings, you can then add a M81
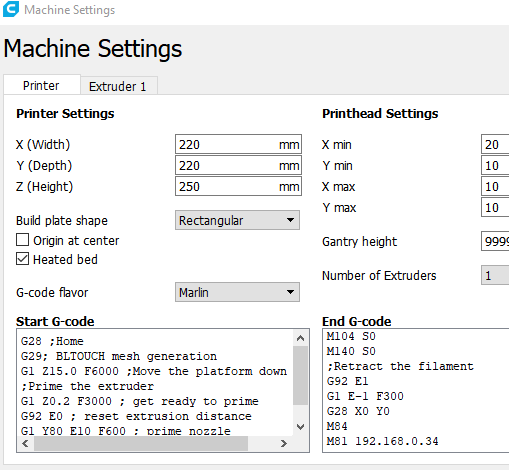
Step 3 (Simplify 3D)
If you’re using Simplify 3D - same step apply, but in different location, Edit your Process by double clicking on it
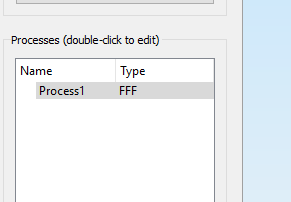
Go Under: Scripts > Ending Scripts In order to add the M81
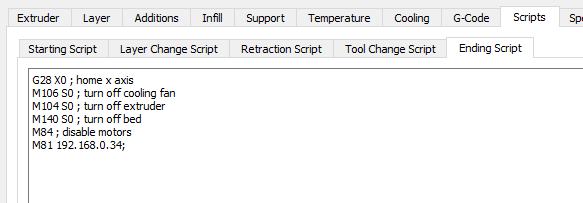
Do not forget to save/Update your profile and and Voila 🤩
Conclusion
This is a good addition to Octoprint in effort to make your setup more efficient and silent, why would the printer run all night if you’re print finish at 2AM and you’re sleeping?
happy printing! 😀
